
Why Your Blowout Never Looks as Good at Home (And the exact fix for it)
Ok, real talk — how many times have you left the salon feeling like an absolute goddess, bought ALL the products your stylist recommended, went home... and then tried to recreate it yourself and ended up looking like a completely different person?
Same. And we hear it from clients literally every single week.
Here's the thing though — it's not the products letting you down. It's not even the tools. The gap between your blowout and ours comes down to a handful of techniques that we do on autopilot but nobody actually teaches you. Until now.
Your products go on before the dryer even turns on
Heat protectant is non-negotiable — think of it as SPF for your hair. But here's what most people skip: a styling product matched to your actual hair type. Fine hair? You want a lightweight volumizer, not a heavy cream that'll flatten you out. Thick or frizzy hair? A smoothing cream or a couple drops of oil before you start will change your life. Apply both to damp hair, not soaking wet.
80% dry before the round brush even touches your hair
This is the biggest time-saver nobody talks about. Rough dry your hair with just your fingers and the dryer on high until most of the water is gone — no brush, no sections. When you're about 80% dry, THEN you start styling. You'll cut your blowout time in half and put way less heat stress on your hair. Win-win.
The thing we wish we could tell every client: Most heat damage doesn't come from the dryer setting. It comes from sitting on wet hair too long. Getting that rough-dry step right is more important than expensive heat protectant.
Smaller sections = bigger results
We know it feels slower. Clip your hair up and work in sections the width of your round brush — not wider. Smaller sections mean more tension on the hair shaft, which is what actually creates that smooth, bouncy finish. Large sections feel efficient but give you frizzy, uneven results and you'll just be redoing it anyway.
The dryer chases the brush — always
Think of your round brush and your dryer as a duo. The brush creates tension by pulling the hair taut, and the dryer follows right behind it — maybe an inch away. If your dryer is hovering somewhere random while your brush does all the work, you're not going to get that smooth result. Keep them moving together, almost like the dryer is chasing the brush down the section.
The cool shot is not optional
We know, we know — you're almost done and you just want to be finished. But hitting each section with the cool shot button (or giving it 30 seconds to cool while still wrapped around the brush) is what actually sets the shape. Hot air opens the cuticle; cool air closes it and locks everything in. Skip this and your blowout drops within a couple of hours. Do it and it lasts days.
Finish light — always
One or two drops of a lightweight finishing oil through the ends, or a fine mist of finishing spray from arm's length away. That's it. You want polish, not product buildup. Heavy finishing products are the fastest way to undo a great blowout, so less is genuinely more here.
A salon-quality blowout is absolutely something you can do at home — it just takes knowing the right order of operations. Now you do. Go show your hair dryer who's boss.
Want to recreate this at home?
These are the exact products we use in the salon — nothing extra, nothing you don't need!
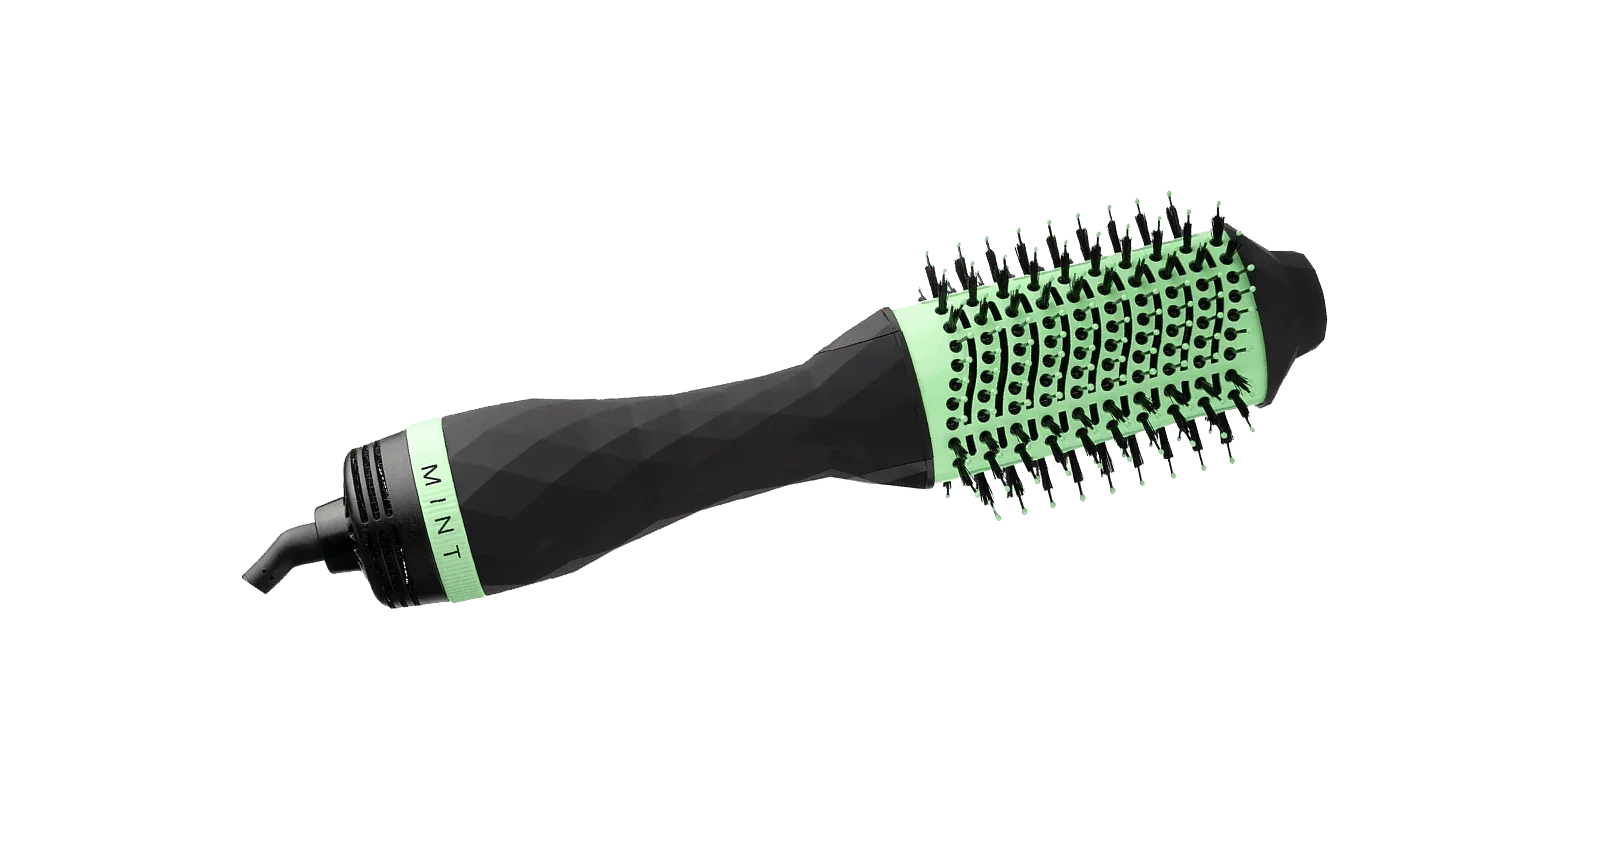
THE ULTIMATE FRIZZ-ELIMINATOR — This blow dryer brush has been engineered with an ion-infused ceramic barrel and frizz-fighting Ionic Technology that creates a beautiful shiny finish, even when styling with dry har.
5-IN-1 ALL-INCLUSIVE HAIR STYLER — This blowout brush is a hair dryer, waver, straightener, volumizer and de-frizzer all in one. Cut your morning routine in half with this one step hair styler!
POWERFUL & ULTRA-LIGHTWEIGHT — Our round brush blow dryer has been engineered with a higher end motor that produces the same airflow as other One Step Hair Dryer and Styler Volumizers, but is smaller and 27% lighter.
USED IN OVER 25,000 PROFESSIONAL SALONS — This hair brush blow dryer has been engineered by the reputable MINT Tools, whose hair styling tools are used by professional stylists all over North America. When you buy MINT, you're buying a top-quality hair tool that is built to withstand the demands of professional salons.
WE STAND BEHIND OUR PRODUCTS — If you have any problems, questions or need fast exchange/support, or usage tips from a pro stylist, just let us know — we take great care of our customers.
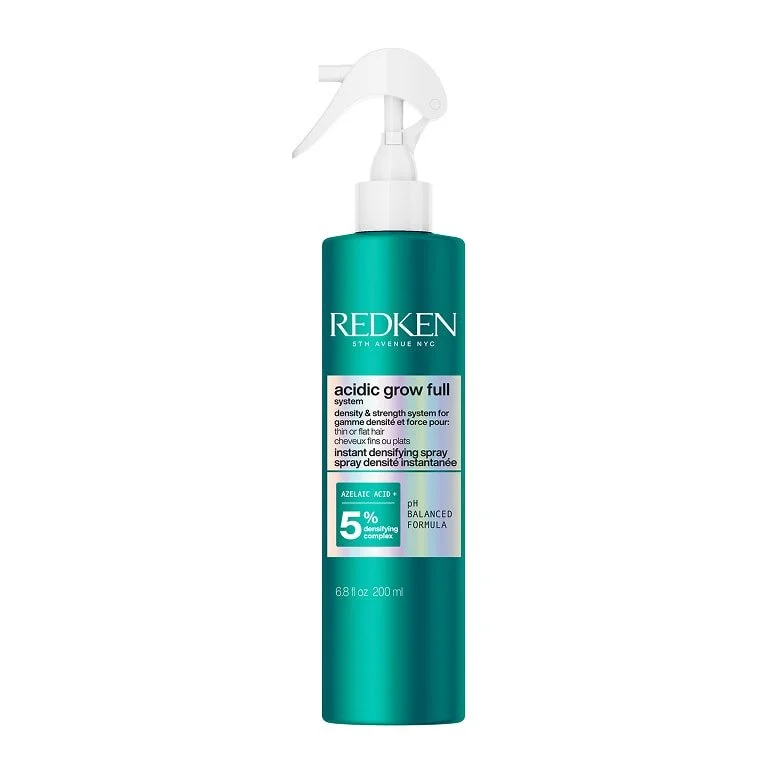
Instant root-life spray, that provides fuller-looking hair. Heat protection up to 230°C/450°F. pH balanced formula.
Spray six inches away from hair, on clean, damp hair. Comb through from mid-sections to ends.
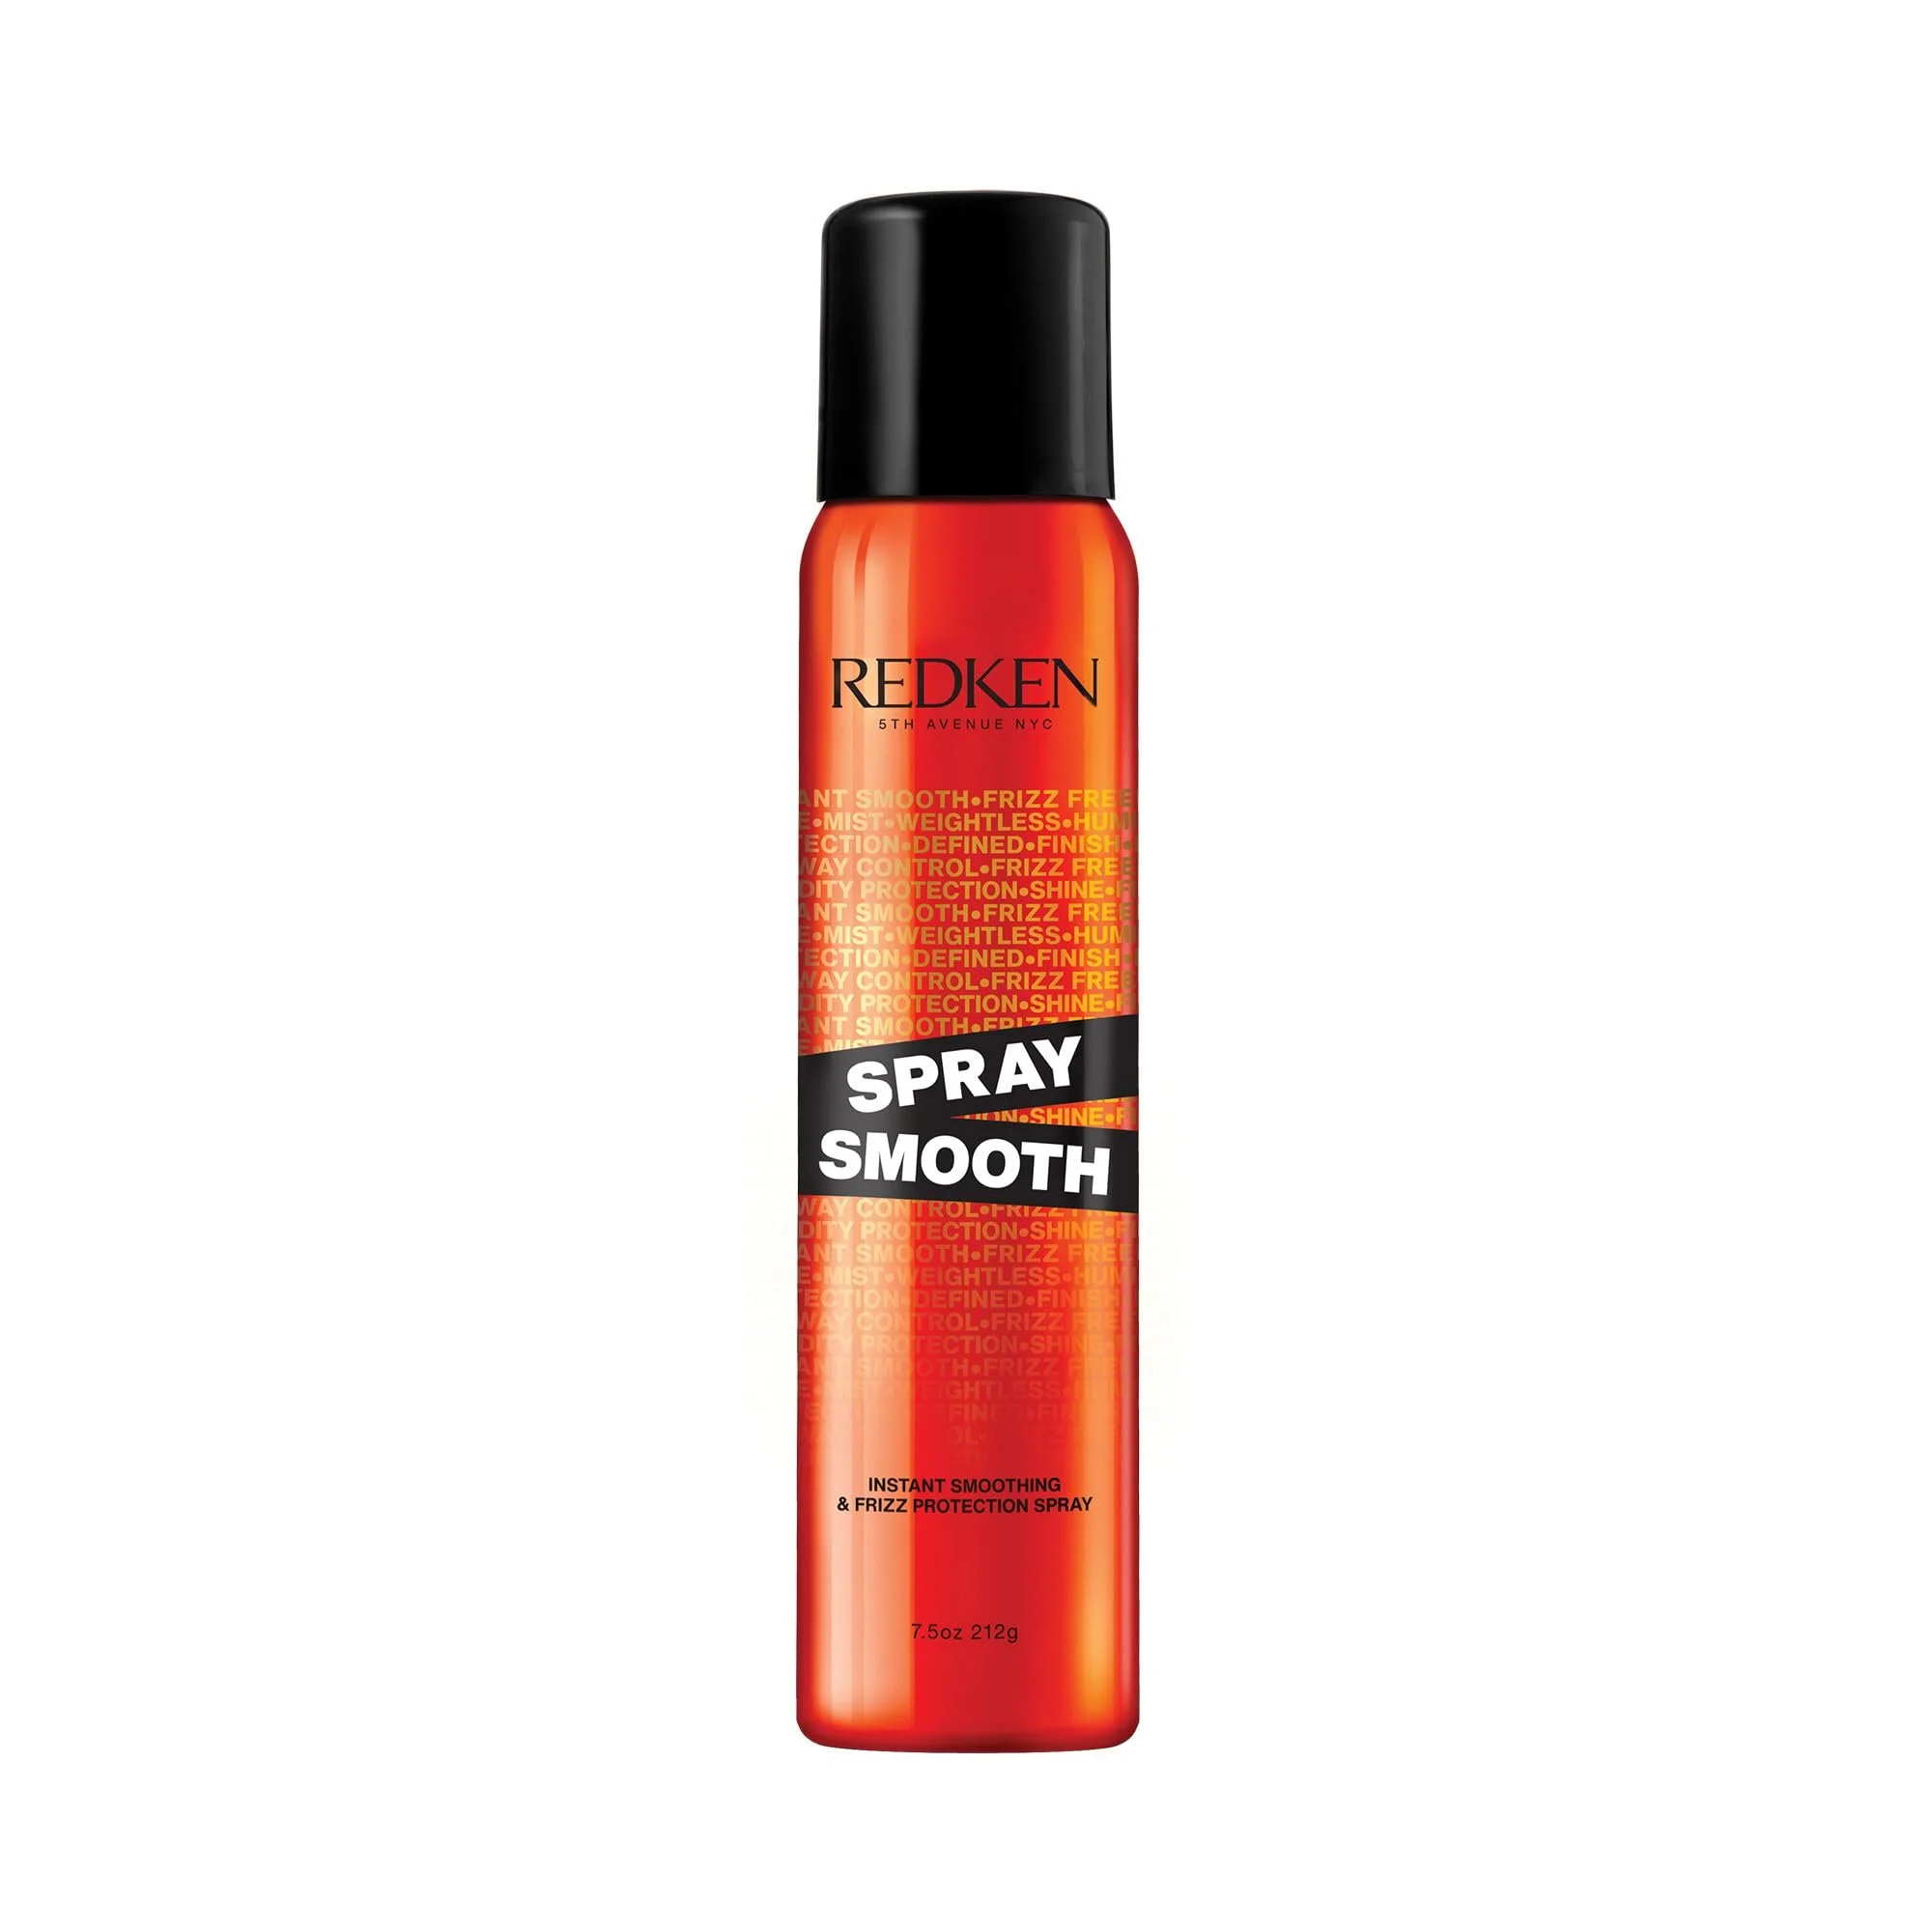
Spray Smooth is an aerosol hybrid that provides both styling and care benefits to instantly smooth and de-frizz hair. This formula is free of parabens, sulfates, and silicones and features heat protection up to 450°F/230°C.
- Instant smooth, silky finish
- Frizz Control
- Heat protection up to 450°F/230°C
- Ultra-fine mist won't weigh down hair
- Suitable for all hair types